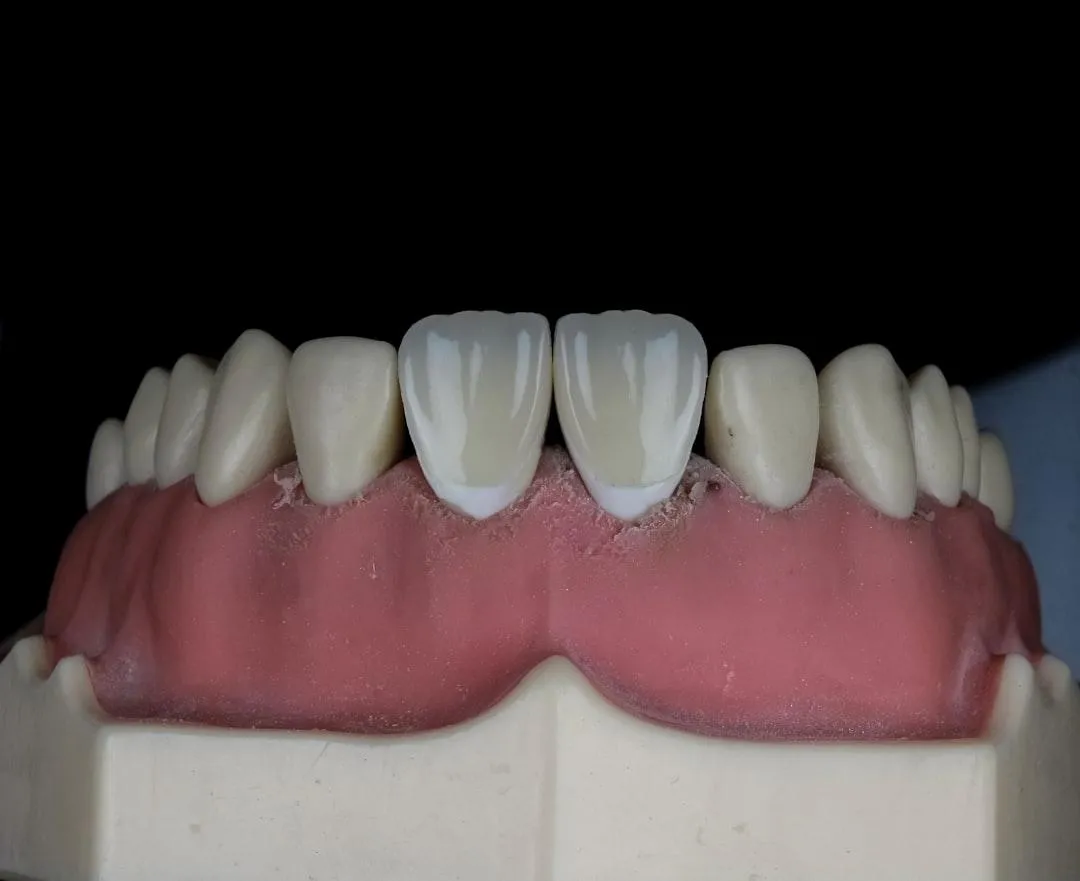
Fix Your Smile Fast with a Temporary Replacement Tooth
A Missing Tooth Doesn't Have to Slow You Down
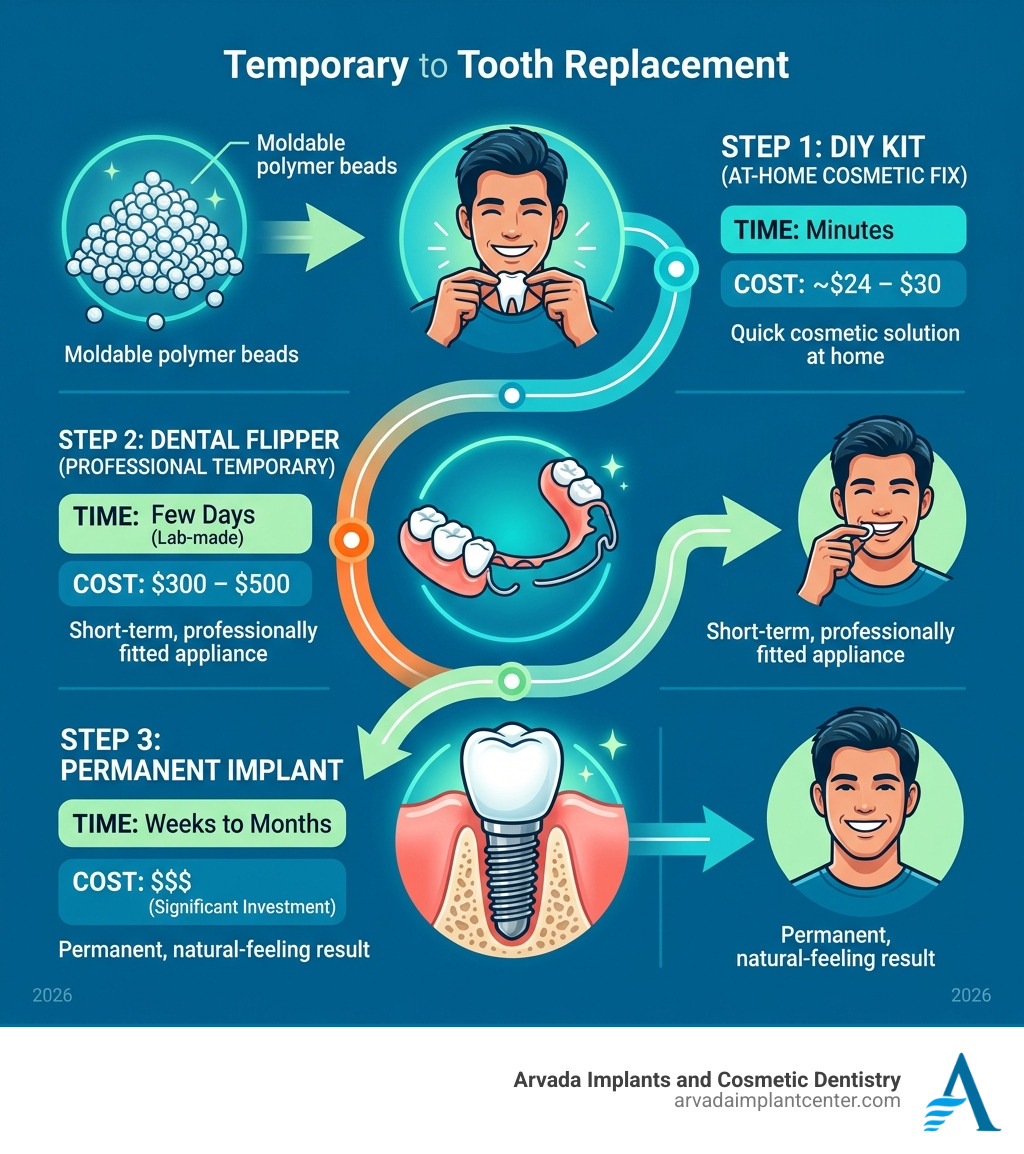
If you need a temporary replacement tooth, here are your fastest options:
Option Cost Time to Get Best For DIY kit (e.g., Temptooth) ~$24–$30 Minutes, at home Quick cosmetic fix Dental flipper $300–$500 Few days (lab made) Short-term professional solution Dental implant $$$ Weeks to months Permanent, natural-feeling result
Losing a tooth changes more than just your smile. It can affect how you speak, what you eat, and — honestly — how willing you are to laugh out loud in a room full of people.
You're not alone in that feeling.
The good news? There are real options available right now, whether you want something you can do at home today or a professionally made appliance from a dentist. Some people use a moldable DIY kit to fill the gap in minutes. Others get a custom-fitted dental flipper while they plan for something permanent.
This guide breaks down every major temporary tooth replacement option — what each one costs, how well it works, and when it's time to stop relying on a temporary fix and get something that lasts.
Whether you're buying time before an implant or just need to feel confident at an upcoming event, you'll know exactly what to do by the end of this article.
DIY Temporary Replacement Tooth Kits: What to Expect
When you need an immediate solution in the privacy of your own home, DIY kits are often the first place people look. These kits, such as the Temptooth™ #1 Temporary Tooth Replacement (Lowest Price Guaranteed), are designed to provide a fast cosmetic fix without a dentist visit.
The core of these kits consists of thermal-plastic beads—specifically a non-toxic, medical-grade polymer. When heated, these beads become clear and pliable, allowing you to sculpt a temporary replacement tooth that fits perfectly into the gap.
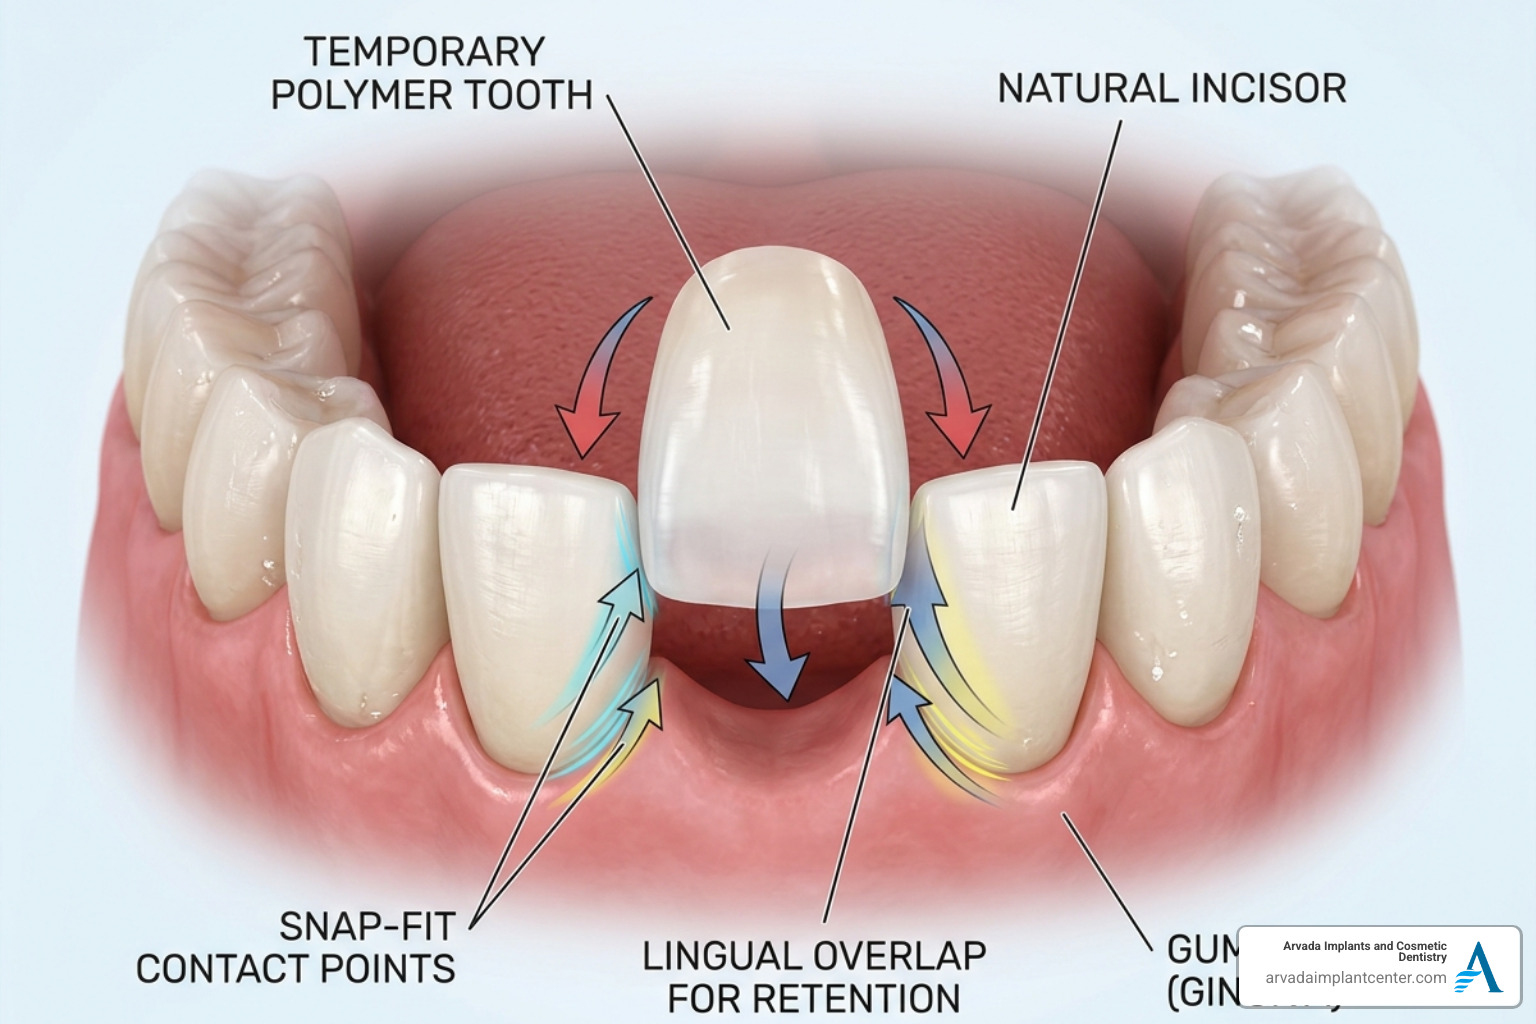
However, it is vital to understand that these are cosmetic-only solutions. They are not medical devices. While they can effectively hide a gap for a photo or a social gathering, they do not offer the structural integrity of a professional prosthetic. They rely on a "snap-in" fit, wedging between your natural teeth rather than being anchored to the bone or gum.
Step-by-Step Guide to Using a DIY Temporary Replacement Tooth
Creating your own tooth is a bit like a high-stakes craft project. Here is how the process generally works:
Softening the Polymer: You place a specific number of polymer beads into very hot water. As they heat up, they turn from white to clear, indicating they are ready to be molded.
Custom Sculpting: Once soft, you roll the material into the general shape of a tooth. You have a limited window of time to work before the material begins to harden.
Fitting the Gap: You press the material into the space left by the missing tooth. The goal is to let some of the material overlap slightly behind the adjacent teeth.
The Cooling Period: As the material cools, it turns back to an opaque white and shrinks slightly. This creates the "snap-fit" tension that holds it in place without the need for messy dental adhesives or glues.
Refining: Many kits, like the Temporary Tooth Replacement Kit (Single Kit), include stainless steel tools to help you refine the edges for a more realistic look.
Pros and Cons of At-Home Kits
The Pros:
Affordability: At roughly $24 to $30 per kit, it is the least expensive way to fill a gap.
Capacity: A single kit usually contains enough material to make about 10 individual teeth, giving you plenty of room for "practice" attempts.
Speed: You can go from a missing tooth to a full smile in about 15 minutes.
The Cons:
Fragility: These are made of plastic. They can crack, warp, or fall out if you aren't careful.
Staining Risks: Unlike porcelain, this porous plastic absorbs colors. If you drink coffee, tea, or red wine, your temporary tooth might quickly turn a different shade than your natural ones.
Short-Term Use: These are intended for days or weeks, not months or years.
Professional Temporary Replacement Tooth Options: The Dental Flipper
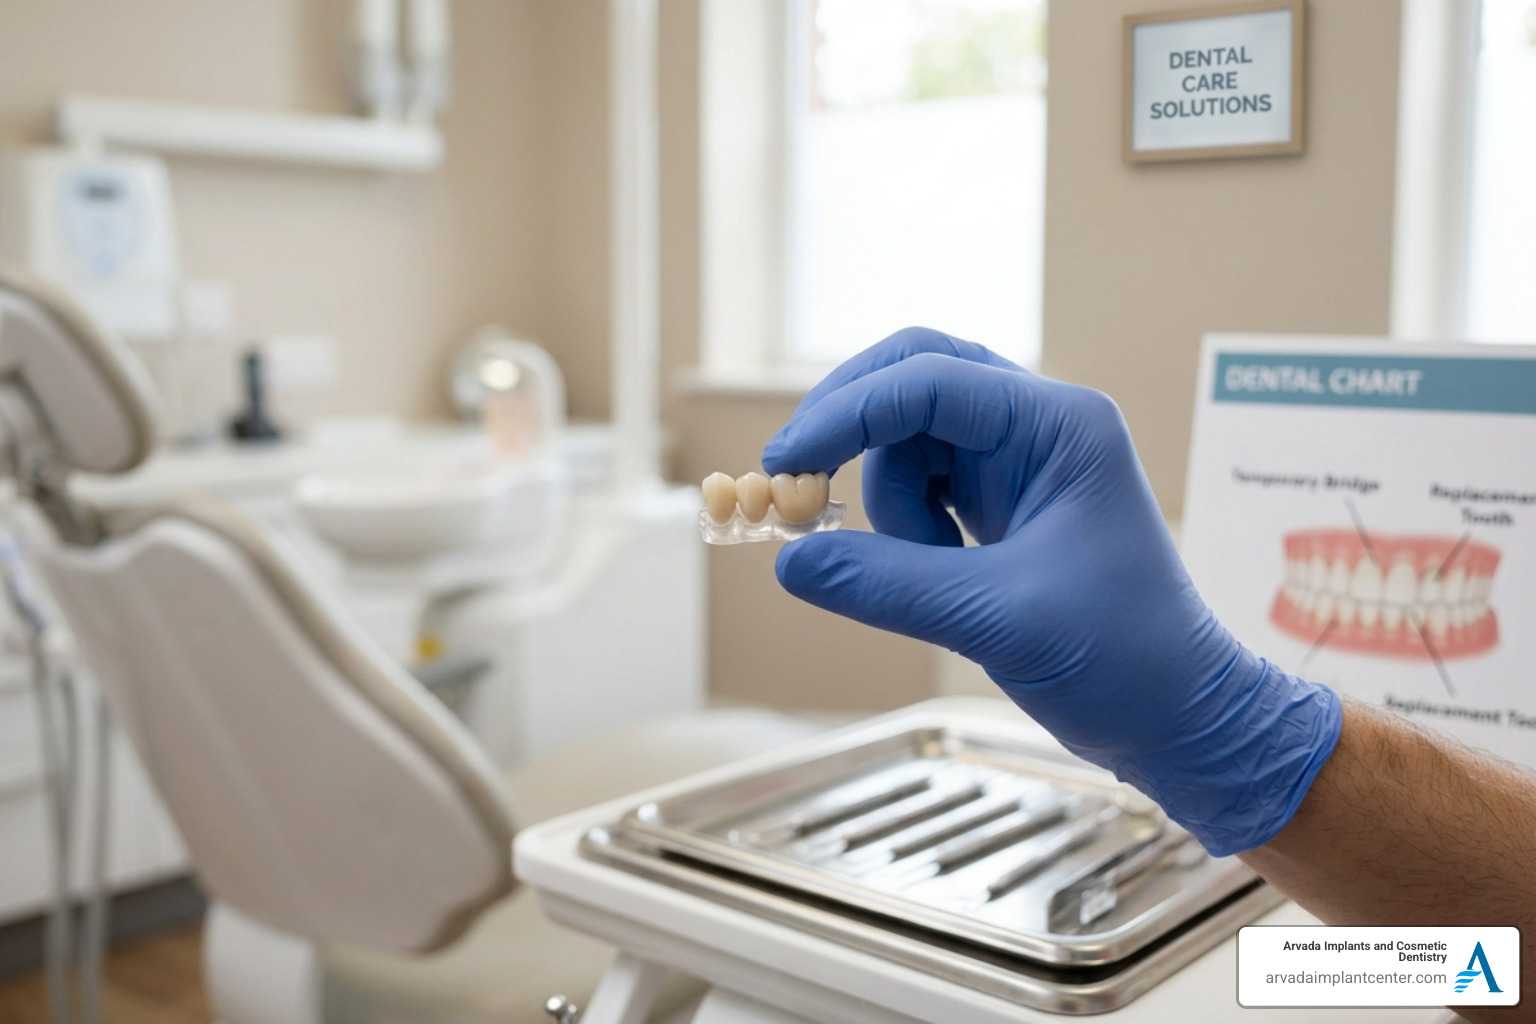
If you want something that looks more natural and is built to last a bit longer, we often recommend a dental flipper. Technically known as a temporary partial denture, a flipper is a removable appliance made from dental-grade acrylic resin.
Unlike DIY kits, a flipper is fabricated in a professional dental laboratory based on an impression of your mouth. It typically costs between $300 and $500. It consists of a prosthetic tooth attached to a pink acrylic base that matches your gums. Because it is custom-made, it fits the unique contours of your mouth much better than anything you could mold yourself.
Benefits of Choosing a Professional Flipper
Choosing a flipper through a provider like Arvada Implants and Cosmetic Dentistry offers several advantages over DIY methods:
Custom Shade Matching: We ensure the tooth color matches your surrounding teeth perfectly, so no one can tell the difference.
Improved Speech: Because it sits snugly against the roof or floor of your mouth, it doesn't interfere with your speech as much as a bulky DIY mold might.
Tooth Stabilization: A flipper acts as a placeholder, preventing your natural teeth from shifting into the empty space.
Durability: While still temporary, a flipper is much stronger than thermoplastic beads and can last anywhere from a few months to a full year.
Limitations and Health Risks of Long-Term Flipper Use
While flippers are excellent Full & Partial Dentures for the short term, they are not a permanent fix. Relying on them for too long carries risks:
Gum Recession: The acrylic base sits directly on your gum tissue. Constant pressure can lead to irritation and gum recession over time.
Bone Resorption: A flipper does nothing to stimulate the jawbone. When a tooth is missing, the bone underneath begins to shrink. Only dental implants can stop this process.
Plaque Buildup: The appliance can trap food and bacteria against your gums, increasing the risk of decay in your remaining natural teeth.
Warping: Acrylic can warp if it dries out or is cleaned with water that is too hot.
If you are dealing with one missing tooth, a flipper is a great "bridge" to a permanent solution, but it shouldn't be the final destination.
Comparing Temporary Solutions to Permanent Restorations
When you're looking at a temporary replacement tooth, it’s helpful to see how it stacks up against the "gold standard" of dental care.
Feature DIY Kit Dental Flipper Dental Implant Lifespan Days to Weeks 3–12 Months Lifetime (with care) Bite Strength Very Low Low to Moderate High (Natural) Bone Preservation None None Excellent Aesthetics Basic Good Superior Long-Term Cost High (Frequent replacement) Moderate Low (One-time investment)
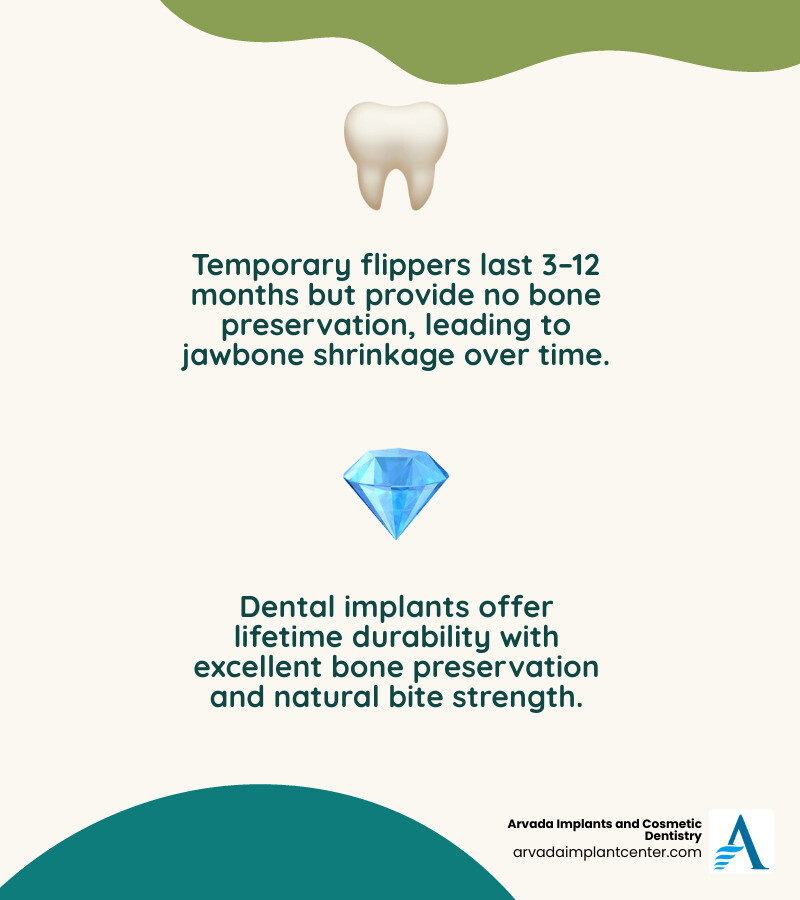
While temporary options are great for speed, they don't offer the stability of Crowns & Bridges or implants. For those who want to skip the "waiting period" entirely, we often discuss Teeth In A Day Same-Day Implants. This procedure allows you to have the implant placed and a temporary (but fixed) tooth attached in a single visit, providing immediate function and aesthetics while the bone heals.
How to Maintain Your Temporary Replacement Tooth
Proper care is the only way to make a temporary solution last as long as intended. Whether you have a DIY tooth or a professional flipper, hygiene is paramount.
The Soft Food Diet: Avoid "the three Cs"—crunchy, chewy, and cold (ice). Hard foods can snap the acrylic, while sticky foods can pull the tooth right out.
Non-Abrasive Cleaning: Never use standard toothpaste on a flipper or DIY tooth; it’s too abrasive and will scratch the surface, making it look dull. Use a soft-bristle brush and mild soap or a dedicated denture cleaner.
Soaking Requirements: When you aren't wearing your flipper, keep it in a glass of water or a cleaning solution. If it dries out, it will warp and no longer fit.
Avoid Hot Liquids: If you are wearing a DIY tooth made of thermoplastic, drinking piping hot coffee can actually soften the material while it's in your mouth!
For the best results, we recommend a professional cleaning of your appliance during your regular check-ups as part of our services.
Frequently Asked Questions about Temporary Teeth
Can you eat with a temporary replacement tooth?
Yes, but with caution. For DIY kits, we generally recommend removing the tooth before eating to avoid swallowing it or breaking it. For dental flippers, you can eat, but you should stick to soft foods. Avoid biting directly into hard items like apples or corn on the cob, as the pressure can snap the acrylic base.
How long does a temporary tooth replacement last?
A DIY kit tooth is usually good for a few weeks of occasional wear. A professional dental flipper is designed to last between 3 to 6 months on average, though with meticulous care, some patients use them for up to a year while waiting for an implant to heal.
When should I see a dentist instead of using a DIY kit?
If you experience any pain, persistent gum irritation, or notice your other teeth starting to shift, it is time to stop the DIY approach. If you have multiple missing teeth, DIY kits are not a viable solution as they lack the structural support needed for larger gaps. A professional consultation is necessary to plan a long-term, healthy restoration.
Conclusion
A temporary replacement tooth is a fantastic tool for regaining your confidence in an emergency. Whether you choose the immediate, budget-friendly route of a DIY kit or the more refined, comfortable fit of a professional dental flipper, these options serve as a vital bridge in your dental journey.
At Arvada Implants and Cosmetic Dentistry, we specialize in helping our neighbors in Arvada, CO, transition from these temporary fixes to permanent, beautiful smiles. We believe that everyone deserves a smile they can be proud of, which is why we offer personalized, affordable treatment plans tailored to your unique needs.
Don't let a missing tooth hold you back any longer. Schedule your consultation for Dental Implants with us today and take the first step toward a smile that looks, feels, and functions just like the real thing.